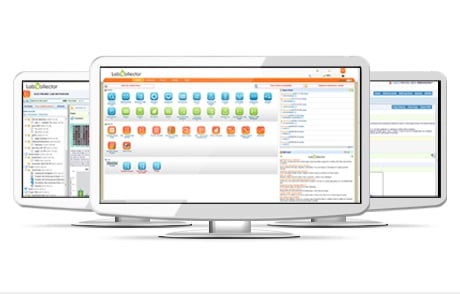
Today’s laboratories work with a range of information sources – from samples, results, tests, storage, budget, client’s requests and so on. In this way, information finds itself at the heart of a lab, and is crucial for efficient research. Automation and digitalization of the workspace can therefore help labs to manage this large amount of information. Labiotech, in collaboration with AgileBio, brings you a quick 5-step guide to know the basics of Lab Automation!
Step 1: Choose a LIMS
You may have heard of LIMS, or Laboratory Information Management System. In a few words, a LIMS is a software that helps you manage all information related to your laboratory. Think about how labs manage information today. It can be in different formats: reports, spreadsheets, presentations, images from microscopy etc.
Now, imagine how they usually store this information: in different files, folders, paper notebooks, on different computers or perhaps on a server.
This unstructured way to manage information leads to time consuming tasks and can ultimately lead to the loss of data. A report done by Atrium Research between 2005 and 2014 showed that the most important challenge of R&D has not changed for almost 10 years – and that is finding the information when needed!
LIMS are increasingly adopted by Labs, growing by 30% per year.
The major advantages of using a LIMS is to provide a centralized and structured platform to share scientific data between staff or collaborators, making dynamic inventories and giving a full traceability of your research activities that a lab needs.
Using a LIMS also makes it easier to comply with good laboratory practice! In a few words: a LIMS software allows you to gain a lot of time in terms of management!

Step 2: Customize your System
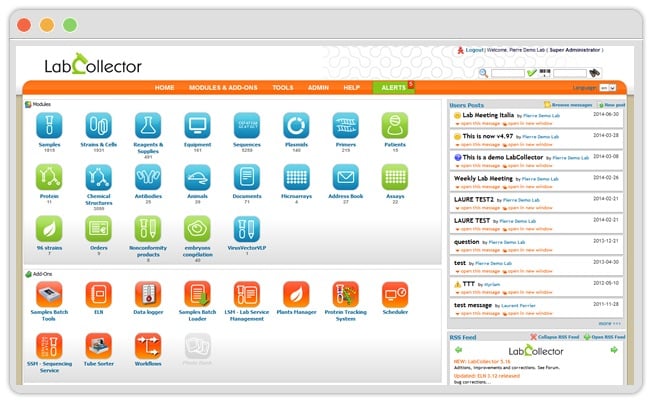
Each laboratory has its specificities and needs. If you choose the LIMS, you will be able to adapt it to your need and get the best out of it. For example, the LIMS called LabCollector offers you the possibility to create ‘bricks’ (modules) that you need to enter all the information of your lab, in addition to the basic frame of the LIMS. So you can choose what you need!
For example, a digital lab notebook is a must-have in any modern lab.
The time of the paper notebook is definitely behind us, and has been proven to be time-wasting and unsustainable (imagine the space you need for archives and the danger of losing data). However, keeping a record of how and why decisions and results were obtained during the experiments and observations is essential.
And since experiments are repeated over and over, this repository of research data over time can be lost in paper notebooks…
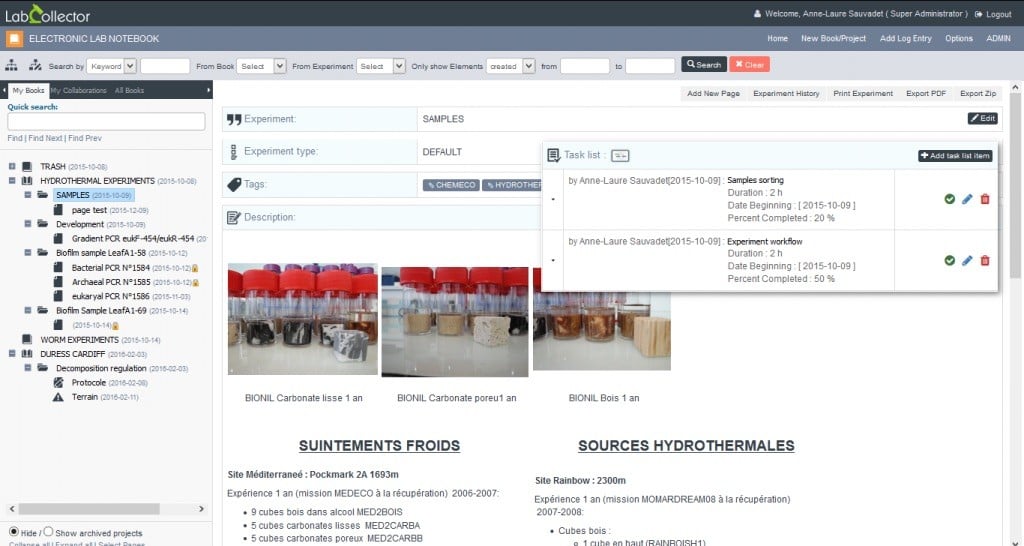
An electronic lab notebook (ELN) can instead store all your experimental data. The easy search tool provided by an ELN offers researchers the ability to gather information, learn from others and make faster decisions.
An ELN also gives you more flexibility than a paper notebook. You can annotate your experiments and organize them in folders with an easy workflow, avoiding the classic order of a paper version, which needs to be chronological.
An ELN can then be simply shared with your colleagues, grouped by project and have multiple collaborators. When choosing an ELN, you have to find the balance between flexibility and regulatory compliance.

Step 3: Implement your system to gain efficiency
Organizing your lab, boxes and fridges is the first step to put an efficient system in place. Any data in the LIMS, from your samples to your unit of storage, is identified by a unique code, optimizing the traceability in your lab. These unique identification codes can be printed as barcodes.
For that, you will probably need adapted supplies to make your lab a truly automated workspace. You can start with a labelling device and a simple barcode reader. Each of your samples can be easily labeled and stored, so information can be easily retrieved. This way, you no longer have the trouble of unreadable information on tubes, or annotations which fade over time.
Imagine a single unique form to easily annotate your tubes – and long-term lasting labels resistant to extreme conditions (e.g. high and low temperatures).
The barcode will allow you to retrieve and update relevant data on the sample with one click (e.g. the origin, the type of experiment, when it has been used for the last time etc.). Your LIMS will then store all this data. Once retrieved and the barcode read, another lab member can quickly understand the importance of this sample, even years later!
Your equipments can be easily upgraded with data monitors, centralizing all monitoring and automatization of results inside the LIMS.
You can have a look at this online shop to find all relevant equipment to implement in your automatized lab:
 Step 4: Change the Mindset
Trying to change an old lab management system can be tough, and facing the conservative mindset of users is certainly challenging. The best way to make a change is to therefore try it first!
Use the free version of LabCollector for a trial period (e.g. 1 month) and try it in your lab (in parallel with your existing system). These results might be enough to convince everybody!
And if they give you the age-old argument of ‘cost’, then show them the benefits of this investment:
1. Having a collaborative environment in your lab
2. Finding any information (samples or reagents storage, protocols, etc..) in seconds
3. Organizing your inventory and keeping track of reagents orders with automatic alerts
4. Following-up your expenses and budget
5. Easily complying with Laboratory Best Practices.

Step 5: Save time and money!
The implementation of a LIMS requires a starting investment. But this investment can be rapidly covered by the gain your lab will make in term of time (‘time is money!‘).
A report published in Scientific Computing & Instrumentation revealed that organizations that have implemented ELN for their R&D have gained efficiencies in terms of research, quality of data and a searchable repository of knowledge. These organizations have also enhanced their ability to protect intellectual property.
Wockhardt, a CMO operating worldwide with a production facility of 16,000 m² and based in the UK, tried to implement a LIMS in its process. Over a three-year period, the team estimated that the automation of the laboratory would save between 5 and 10 minutes per sample. The team assumed this time would allow a 5% increase in the number of samples received per annum.
The anticipated volume increases equated with cost savings of around €200,000 over a three year period! That’s enough to implement any fully-automated system!
Once again, the time of digitalization has come to our lab workspaces. Digital notebooks and online data are the new rule for efficient work on the bench. We hope this post would be useful for you and your colleagues and thanks again to AgileBio for their support to make this post.
For those who want to try LabCollector, you can download the FREE VERSION HERE. A perfect opportunity to try it 😉
About LabCollector LIMS: first developed for Life Science applications, LabCollector is an extensive solution to manage any R&D lab activities. LabCollector is an all-in-one solution with all the features needed in a modern laboratory, adapting to a simple usage to complexes workflows with equipment integration. It is also fully suitable to any type of lab, from research to analytical and diagnostic labs. See the video below for more details.


